Framing 101: Matting
Hooray; You’ve got something you’d like framed! The next step is…mats!
Matting is not always necessary when it comes to custom framing, but it certainly can help elevate a piece. Before we get into tips and tricks about matting, let’s discuss terms and jargon.
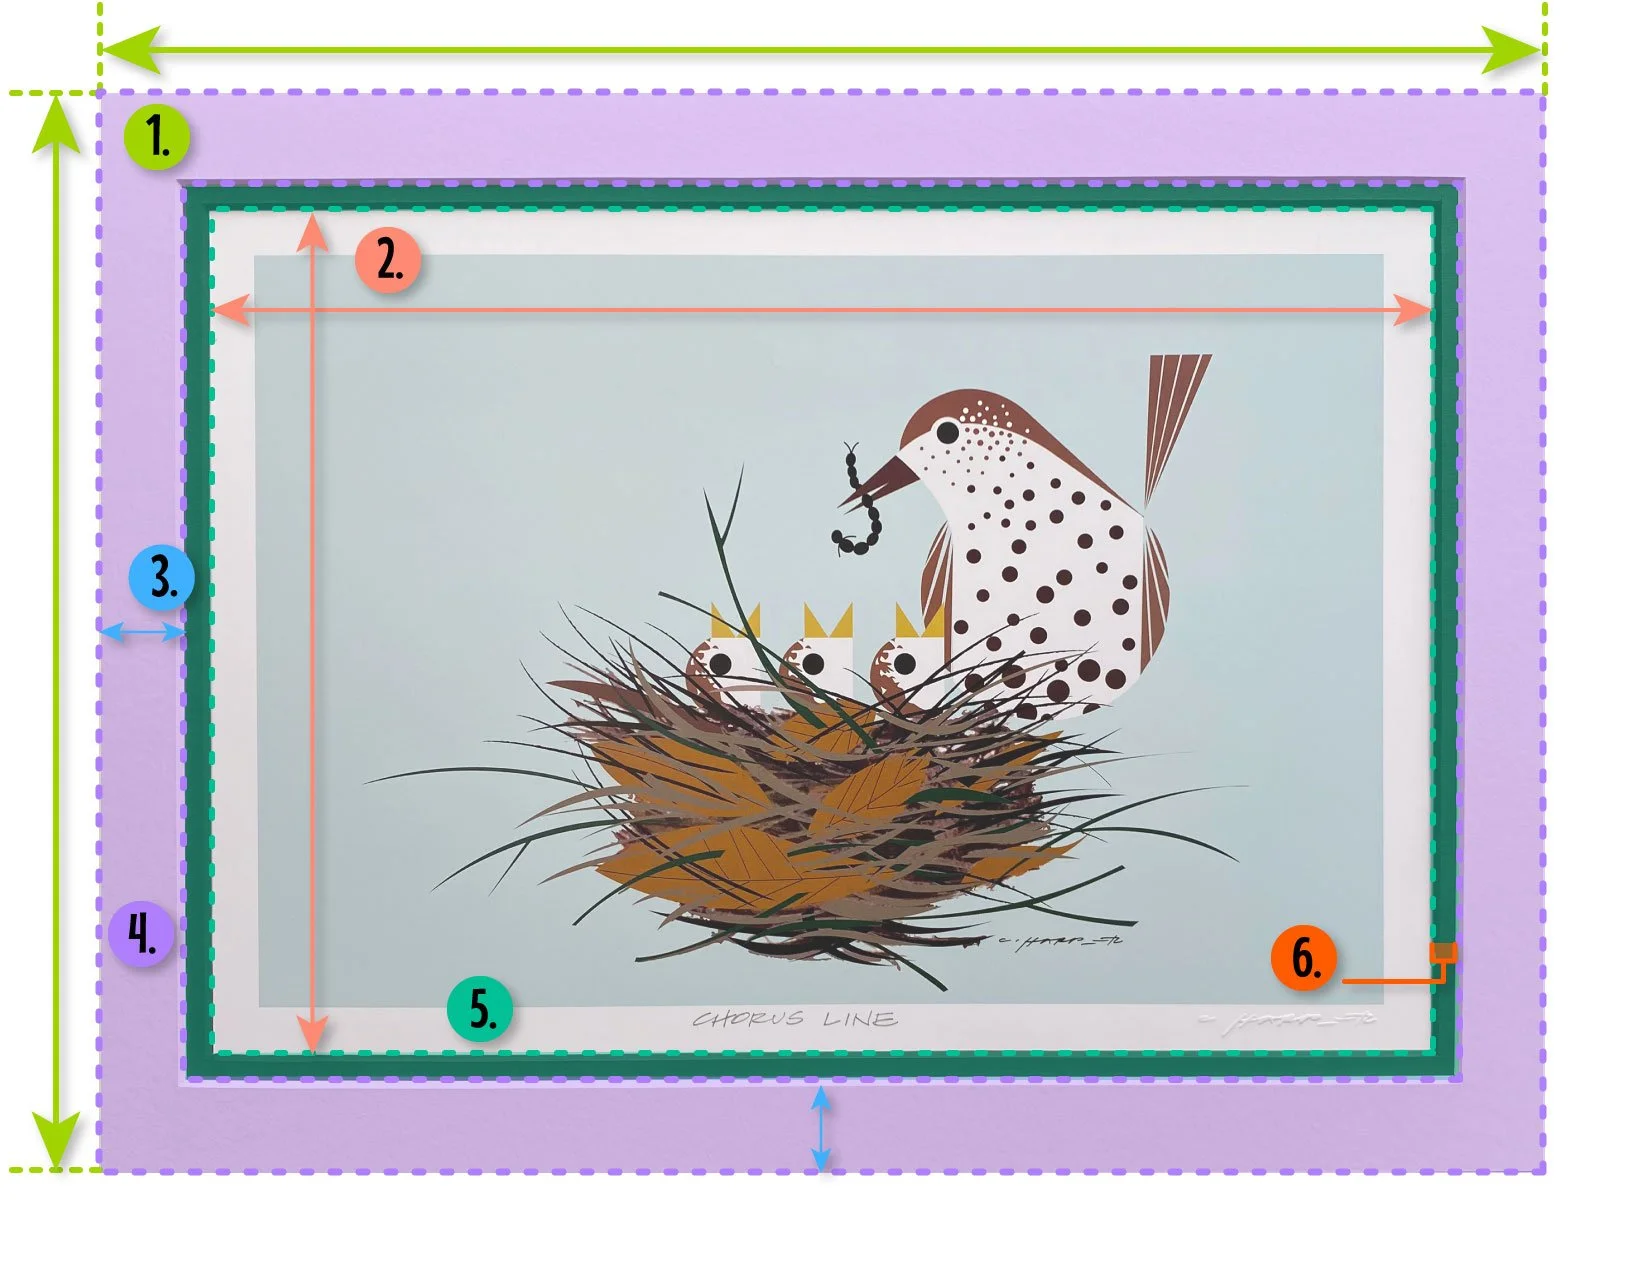
Outer Dimensions: The final size of a piece after the mat(s) have been applied to the piece. Mats always make a piece’s total size larger than the original.
Opening Dimensions: This is the size of the window that is cut out of the mats, allowing the artwork underneath to be visible.
Top Mat Width: The size of the mat border that will be seen around the subject in the frame.
Top Mat: The highest layer of mat board. While more than two layers of mat board isn’t common, it is certainly not unheard of! The top mat is the mat with the greatest surface area shown.
Bottom Mat: This refers to the lowest level of mat board layering a piece.
Bottom Mat Width: This is the total width of the bottom mat that is visible.
Now that we know what matting can consist of, let’s use that knowledge to determine how, or if, your piece should be matted!
How much mat should I use?
Smaller pieces are more likely to have a mat to help give it a more commanding presence. Utilizing a wide mat can make a smaller piece take up more space on an empty wall. When deciding the width of a mat, the rule of thumb is to not have the mat width be the same as the frame width. This prevents the gravitas of the mat from getting lost between the frame and the piece.
Mat width can also be weighted! While it is common to have all four sides of the mat be of equal width, different sides of the mat can have wider or thinner mat widths. This look can add emphasis to a particular area of a piece.
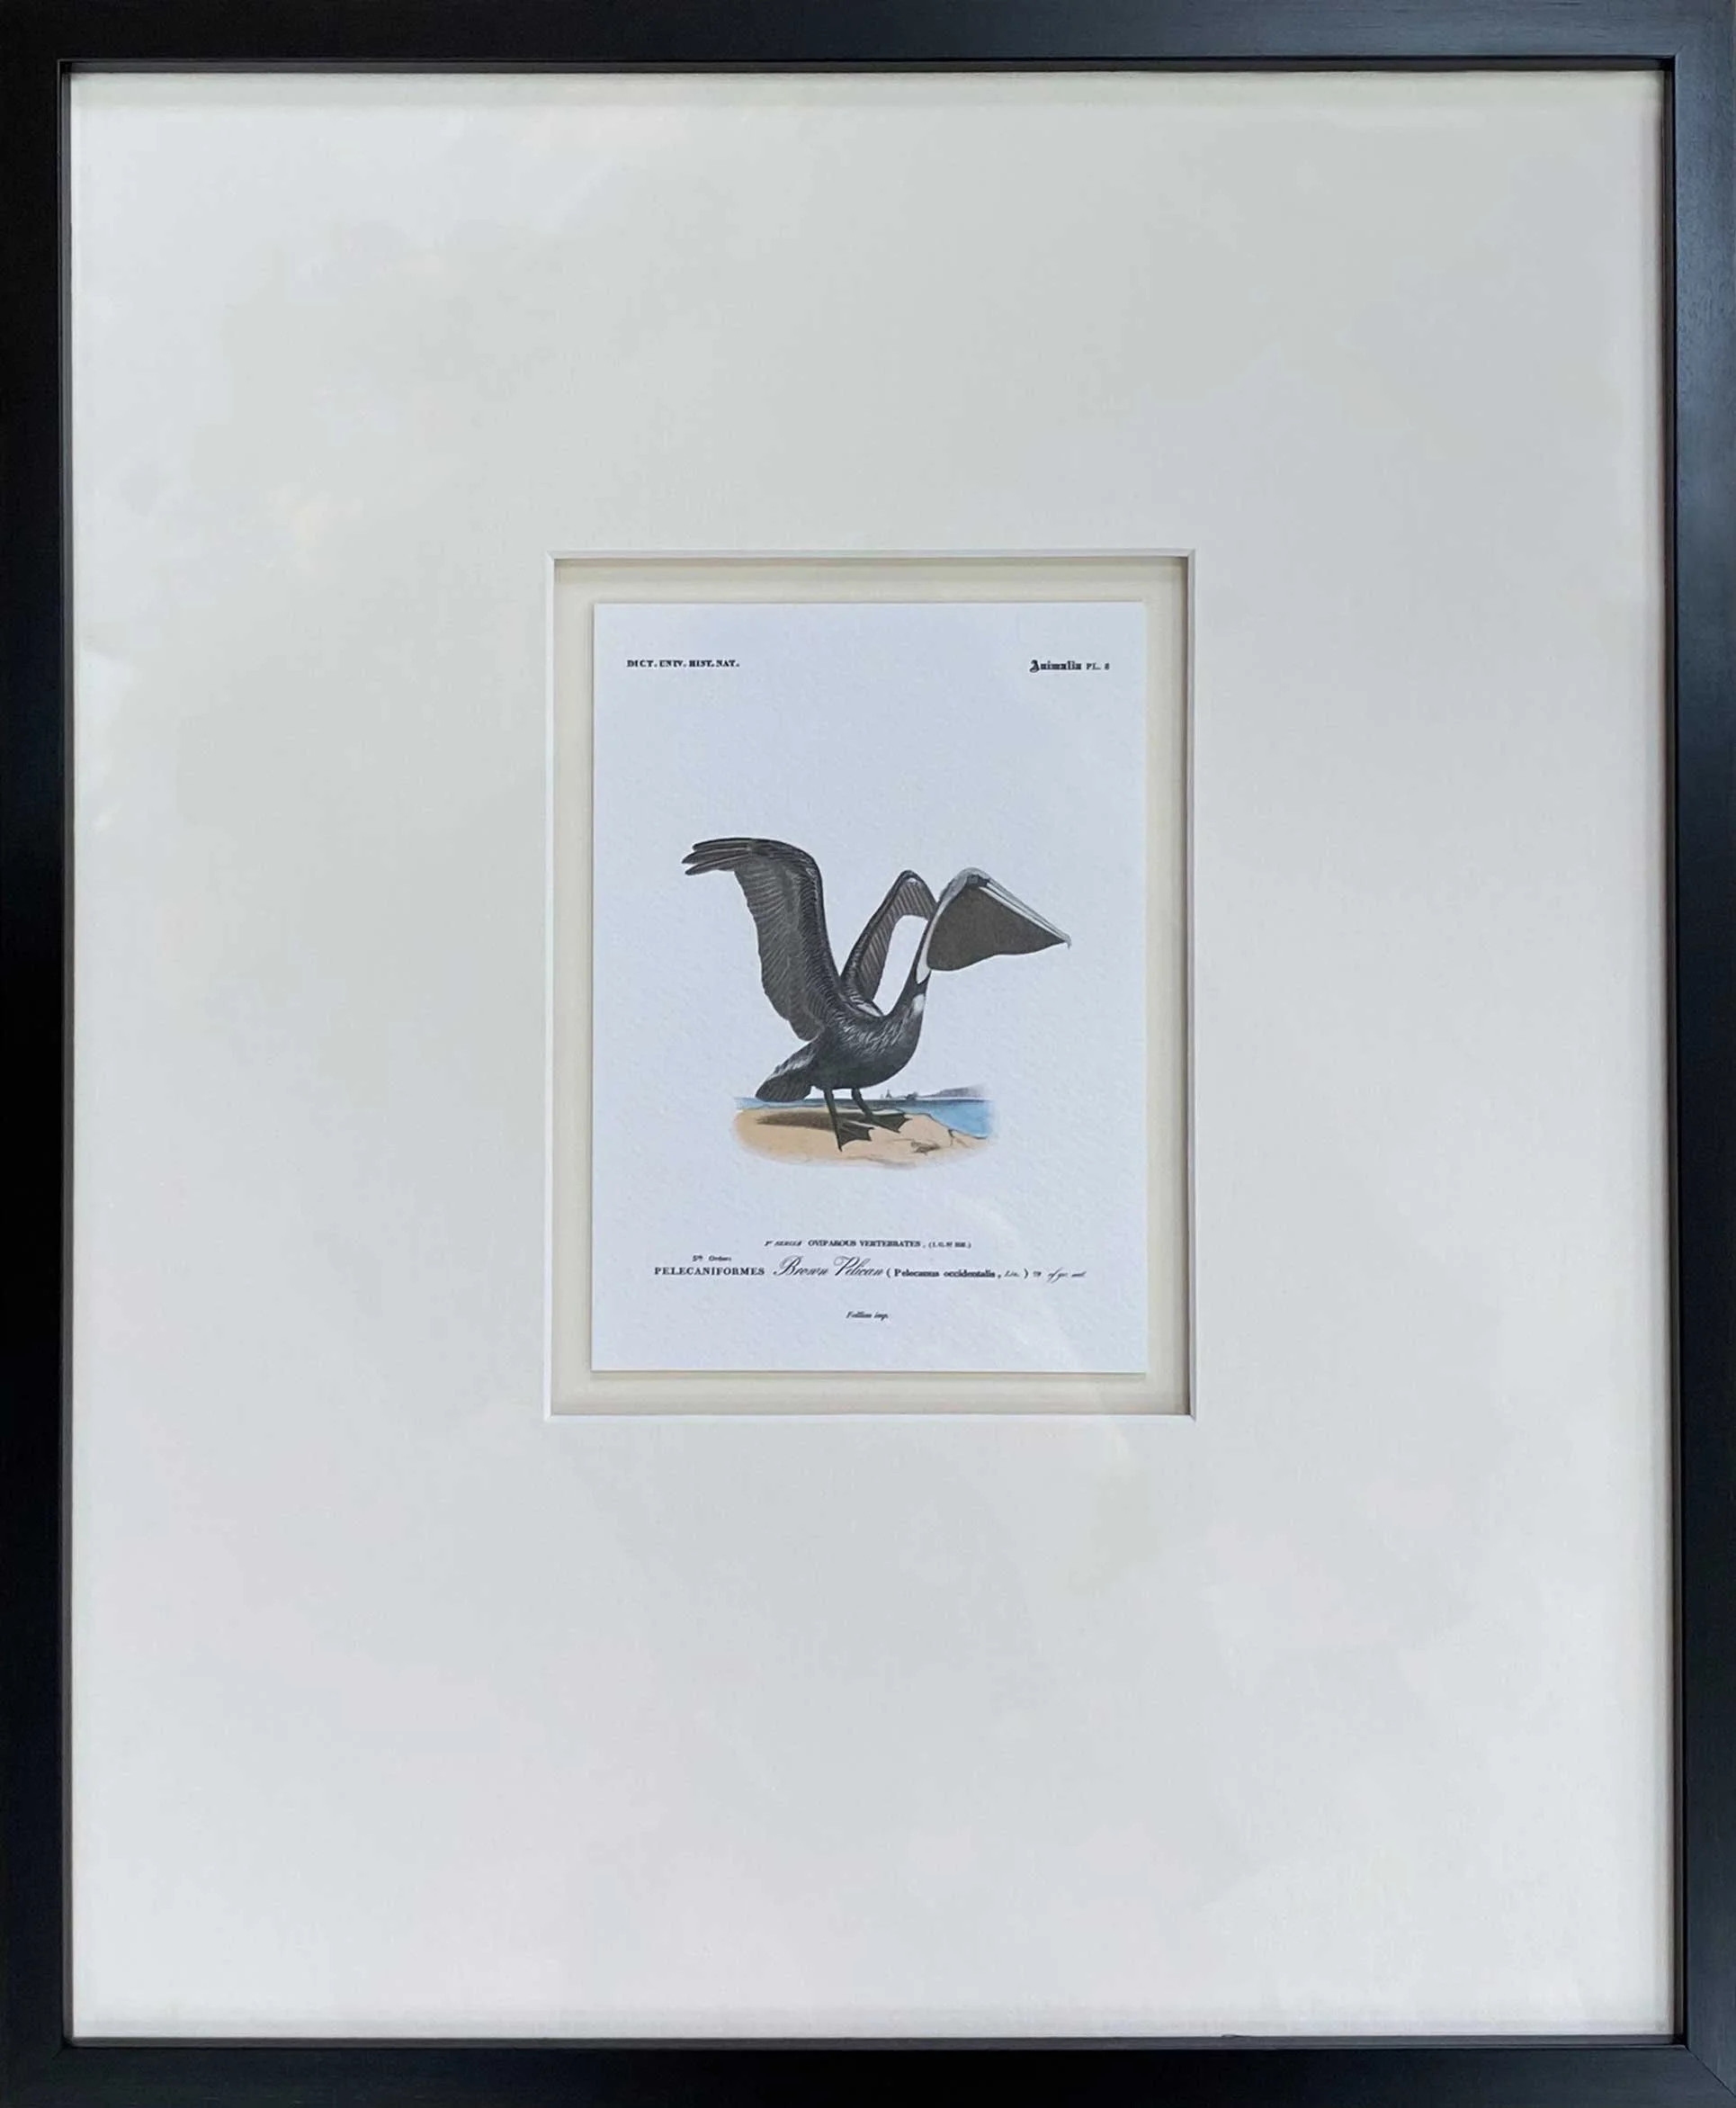
This piece shows a weighted mat (the bottom is thicker while the top and sides equal width) and a floated mount.
How should the piece interact with the mat?
One of the most common ways a mat interacts with a piece is a standard overlap. This is when the mat’s opening size is slightly smaller than the image that is being framed. If the piece is a print that has a number/signature, the opening size is typically expanded to include that writing in the image window. Allowing an edge of the print’s backing can also create a natural boarder, eliminating the need for a double mat.
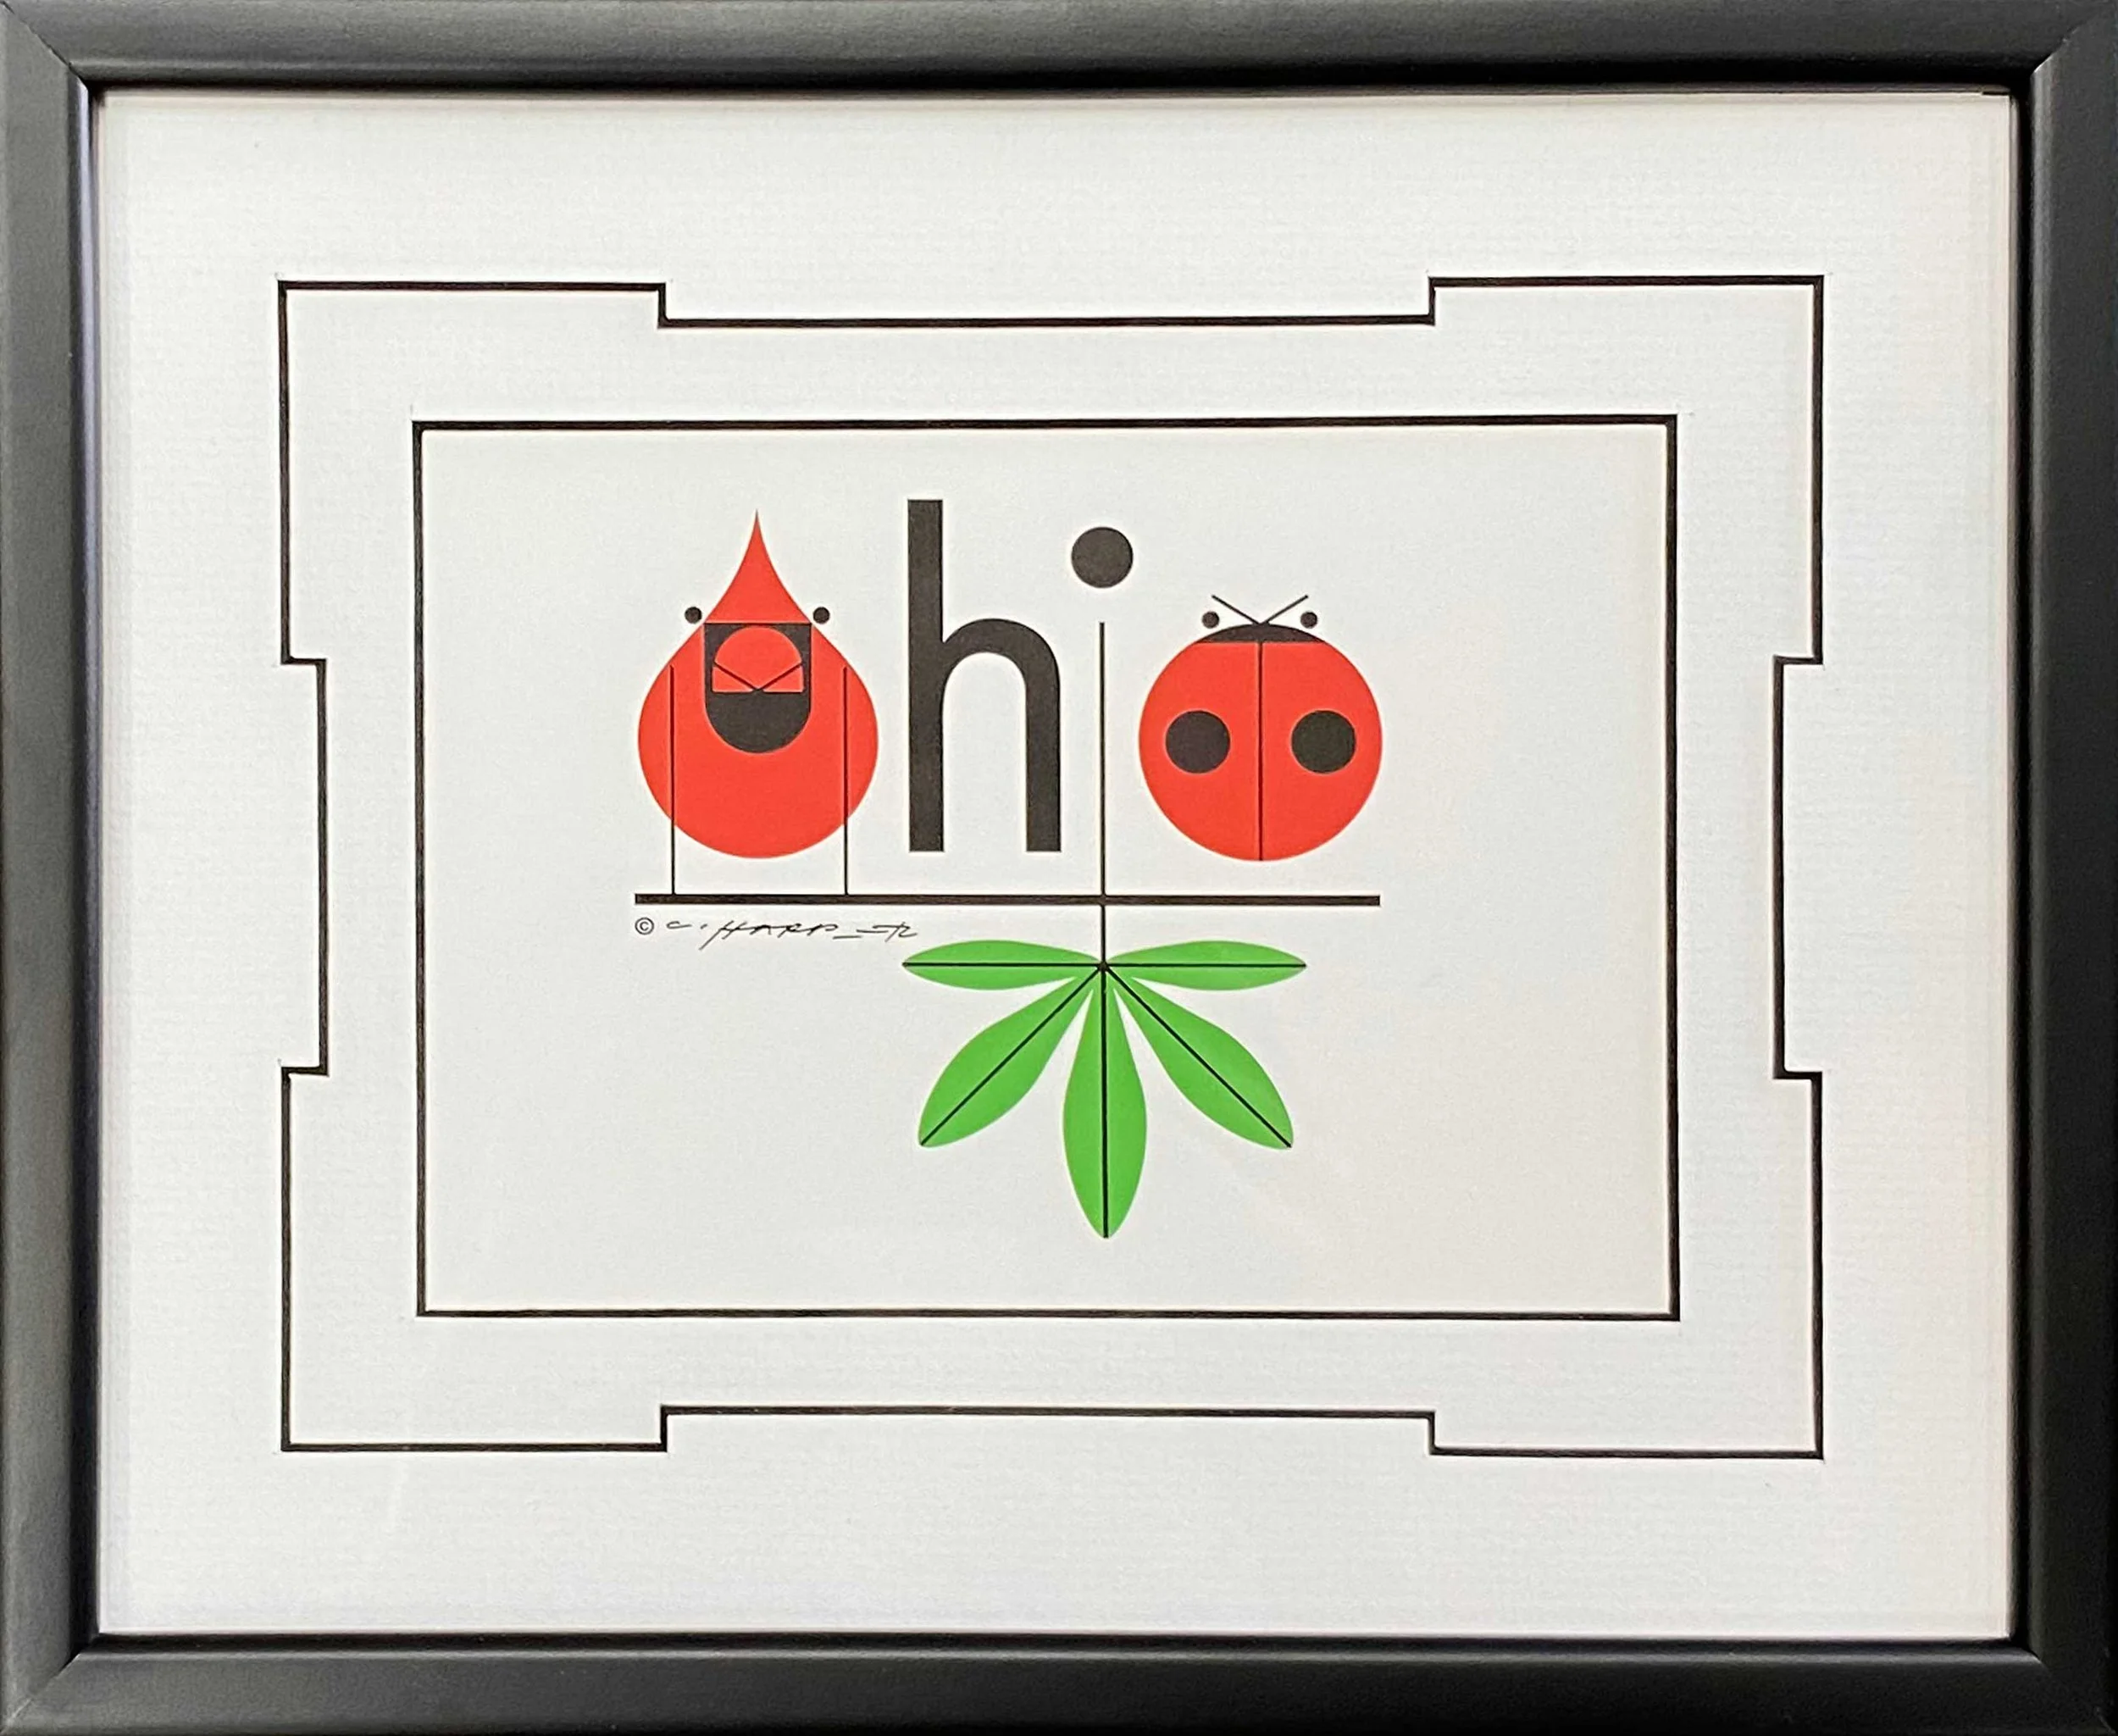
Our Harper OHIO Mini show’s an example of an irregular mat window.
Depending on what the art is made of, the piece may be “floated” on top of a solid piece of mat board. “Floating” a piece refers to how the piece is attached the backing behind it. A piece of foam core is trimmed and placed underneath the artwork to give it a lifted look and appear as if it is floating on top of the backing. To add even more depth to a floating piece of art, you could add a second mat with an opening size cut larger to show a boarder of the bottom mat under the floating work.

Harper’s Vowlentine has special detailing on the top mat to create an illusion that the line work in the print extends onto the top mat. It also has 3 layers of mats, and shows a natural border around the print image.
The mat opening doesn’t always have to be a square or rectangle. Fab Frames has the ability to create custom mat openings to better suit your piece! Openings can be circles, ovals, custom shapes, etc. We can even create mat accents which can be seen on some of our shop pieces! The sky is truly the limit when it comes to choosing how the mat interacts with the piece.
What kind of mat should I pick?
We offer a vast collection of mats here at Fabulous Frames! Some of our mats have top layers of paper, linen, suede, silk, tweed, etc. Depending on what your piece is, a different mat texture might elevate your piece even further, giving it that “something special”.
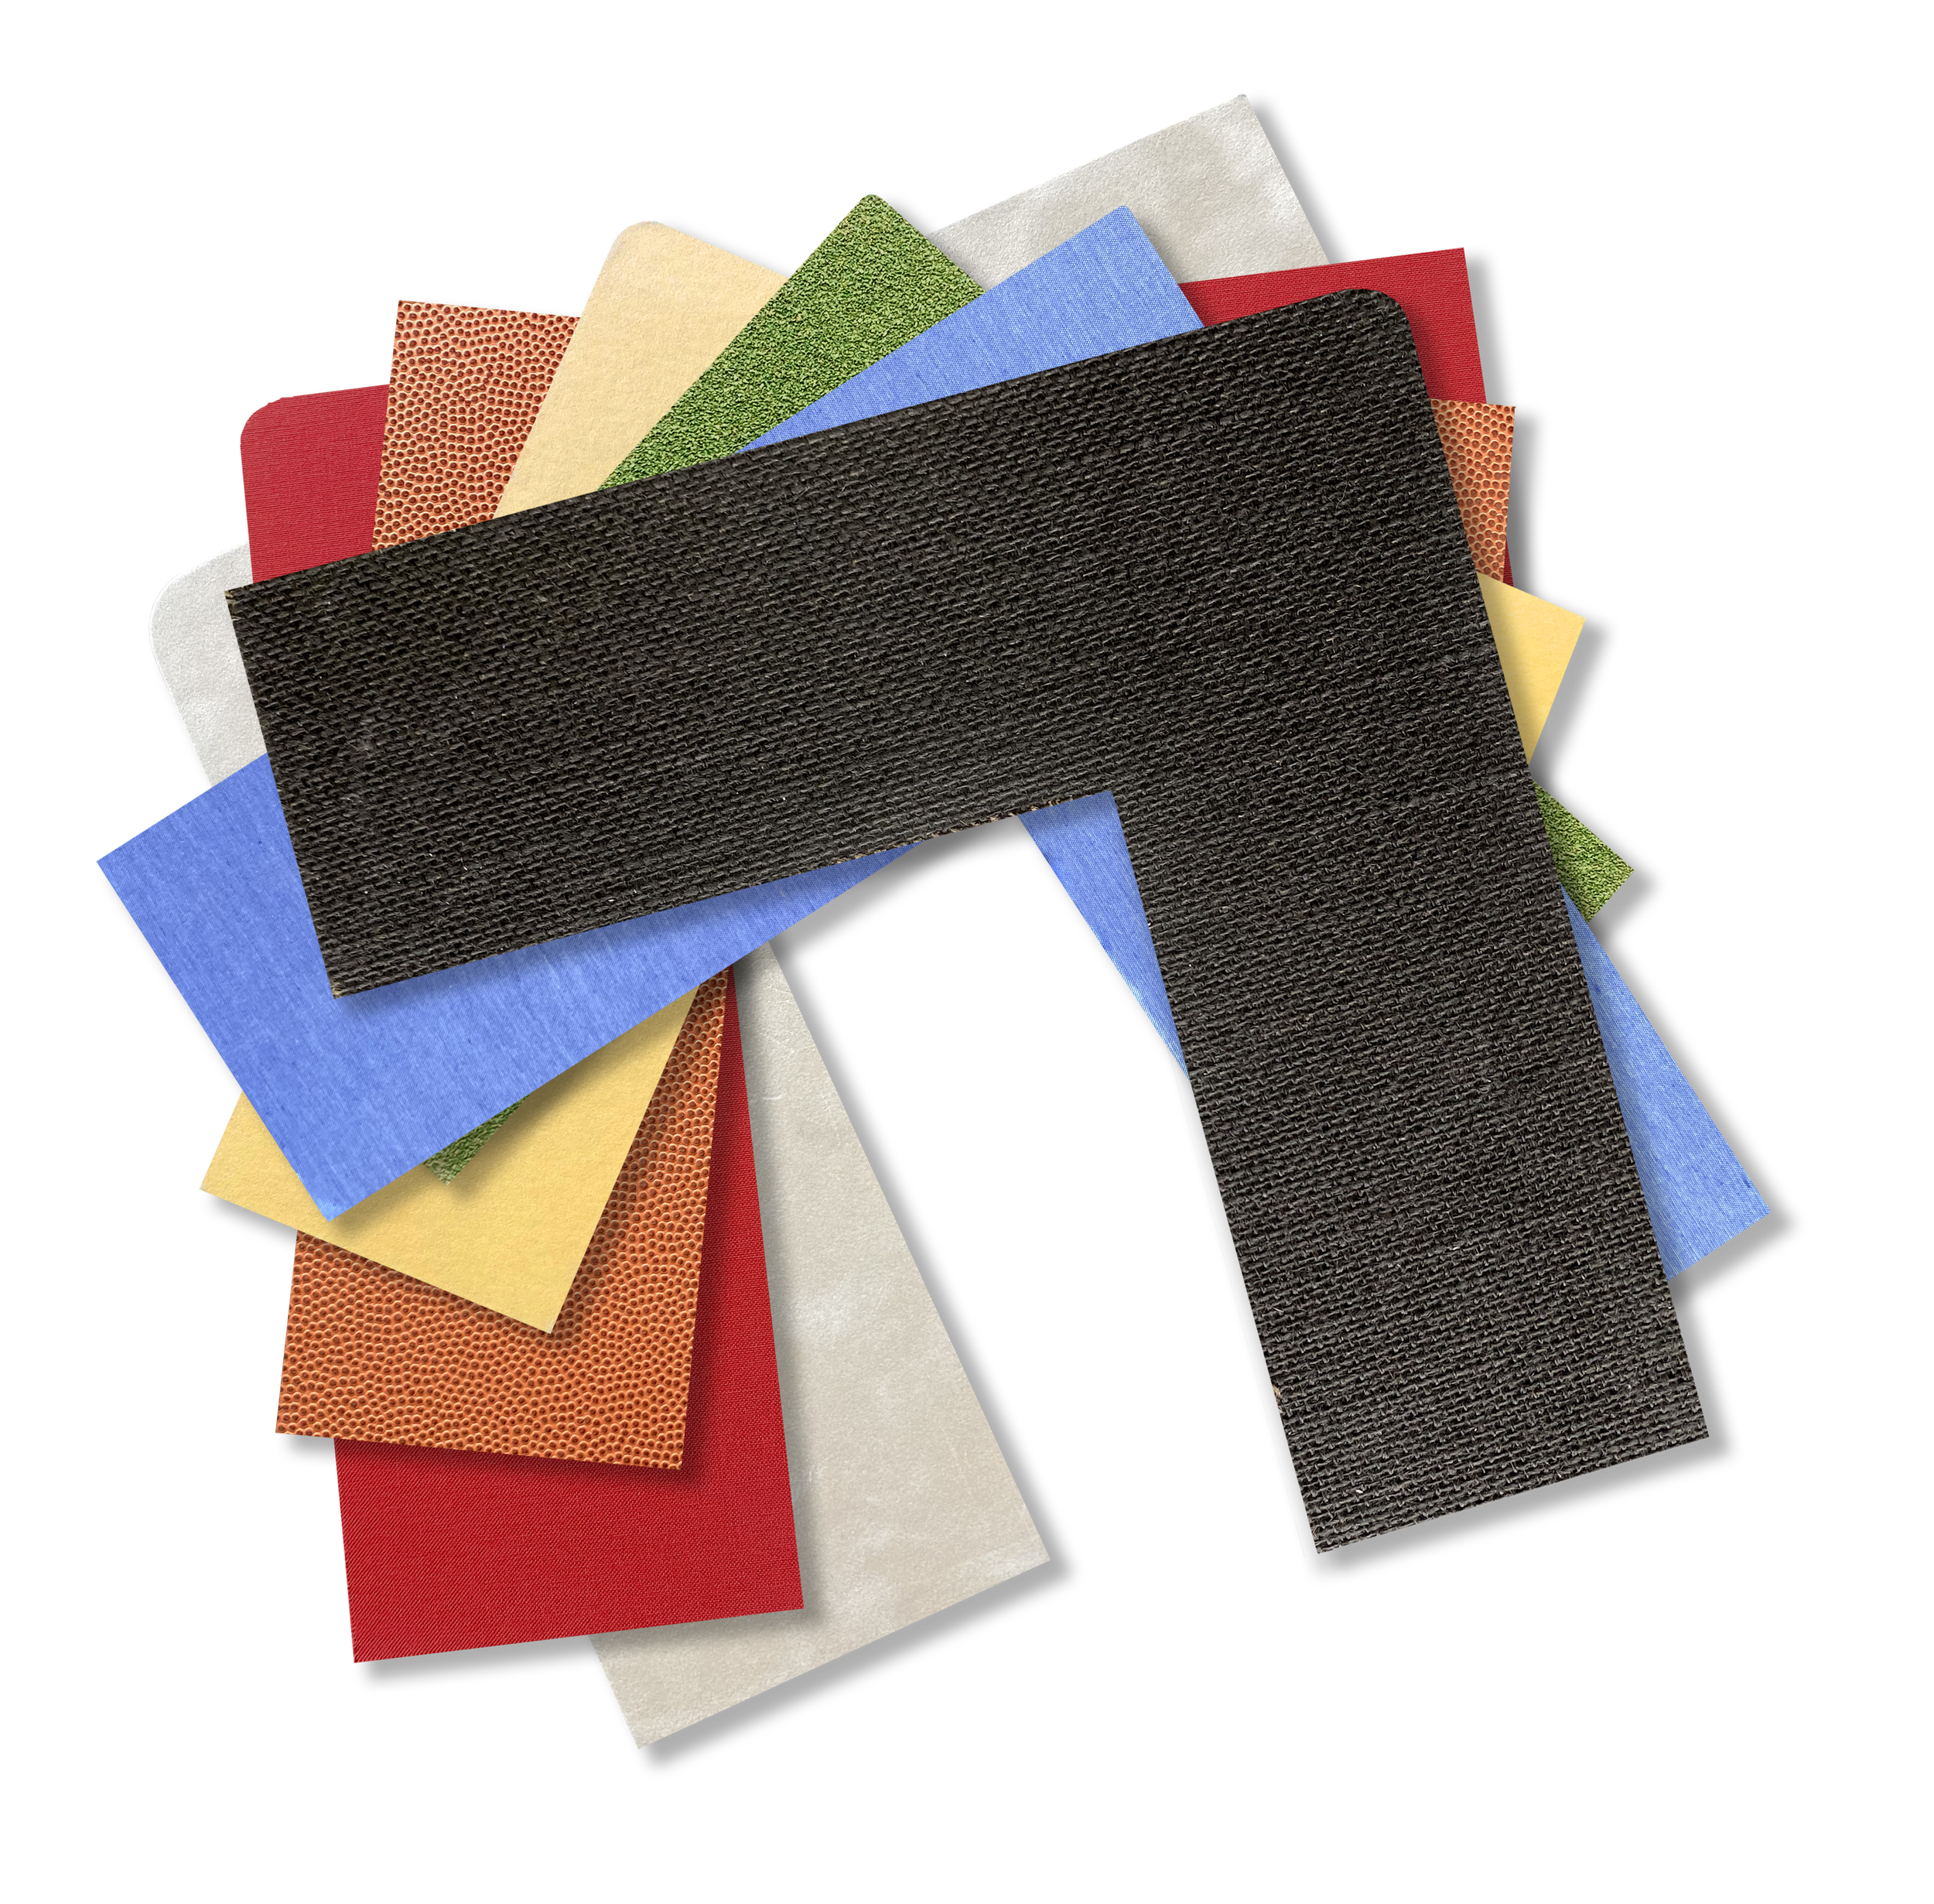
A small sample of some mats we carry. Above depicts a suede, linen, basketball, paper, turf, silk, and jute textured mats.
Custom framing is a multi-step process with many nuances to think about. Our goal at Fab Frames is to help make the process as easy as possible for anyone that walks through our doors! Whether you have an artistic eye or not, our designers are excited to help you pick a design for your pieces that make you go, “wow”!
Stay tuned for the next step in custom framing…the frame!